Running a Keycloak Server on Docker

What is Keycloak?
Keycloak is an open source identity and access management for modern applications and services. Keycloak offers features such as Single-Sign-On (SSO), Identity Brokering and Social Login.
Keycloak usecase:
Within our company, we built a mobile application that requires user authentication. Users had to register using an email address and a password. After some time new requirements were communicated by the business to add social login. Here is where keycload came into play.
Keycloak on Docker:
Since all our environments are running on a dockerized host. We decided to use the official docker image jboss/keycloak. The latest version (15.0.1 at the time of writing this blog) is loaded with default configuration for major databases vendors so you do not need to manually add JDBC jars to the Keycloak modules nor modify the default jboss standalone.xml file.
If you do not add any database configuration, which is a must do for production environments, the container will create an embedded in memory H2 database. If you in any case restart/recreate the docker container, none persitant data will be lost.
To avoid such situations, and since we will run the keycloak server in our test environments, we will run it against a Postgres database.
Postgres configuration:
This guide assumes a running postgres database server instance is available at your disposal.
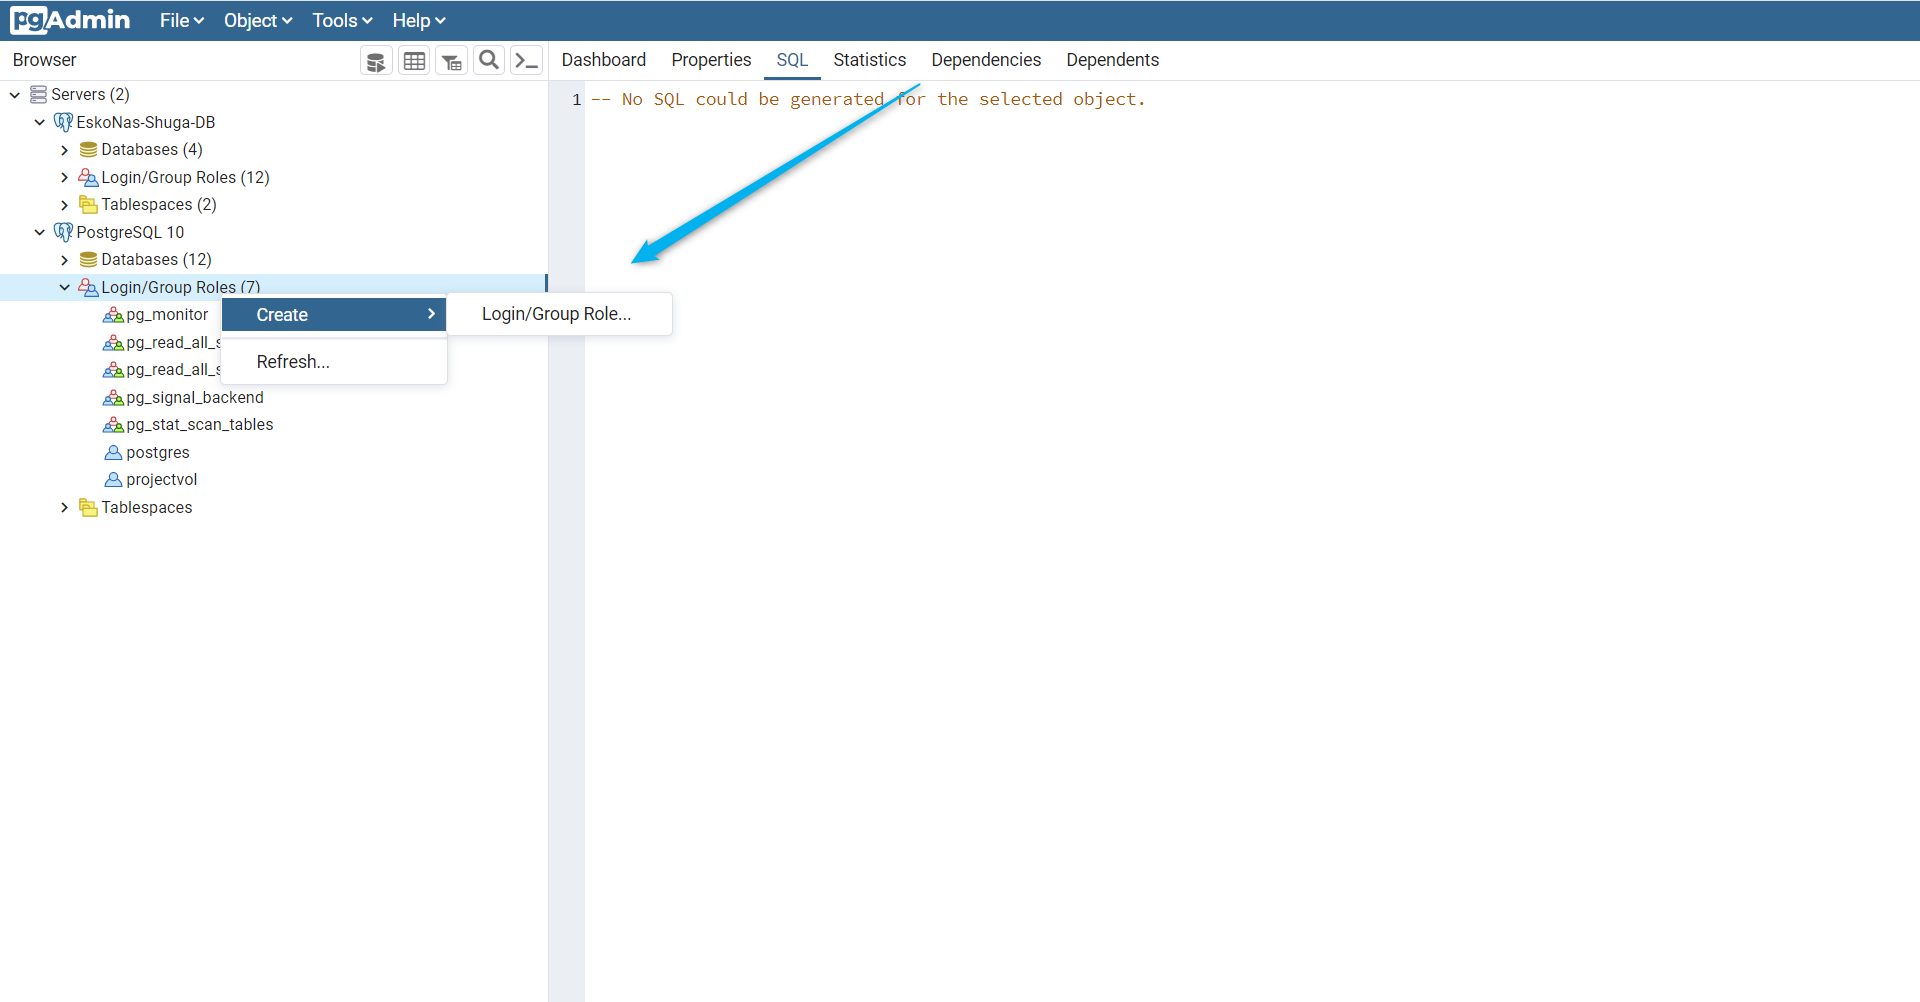
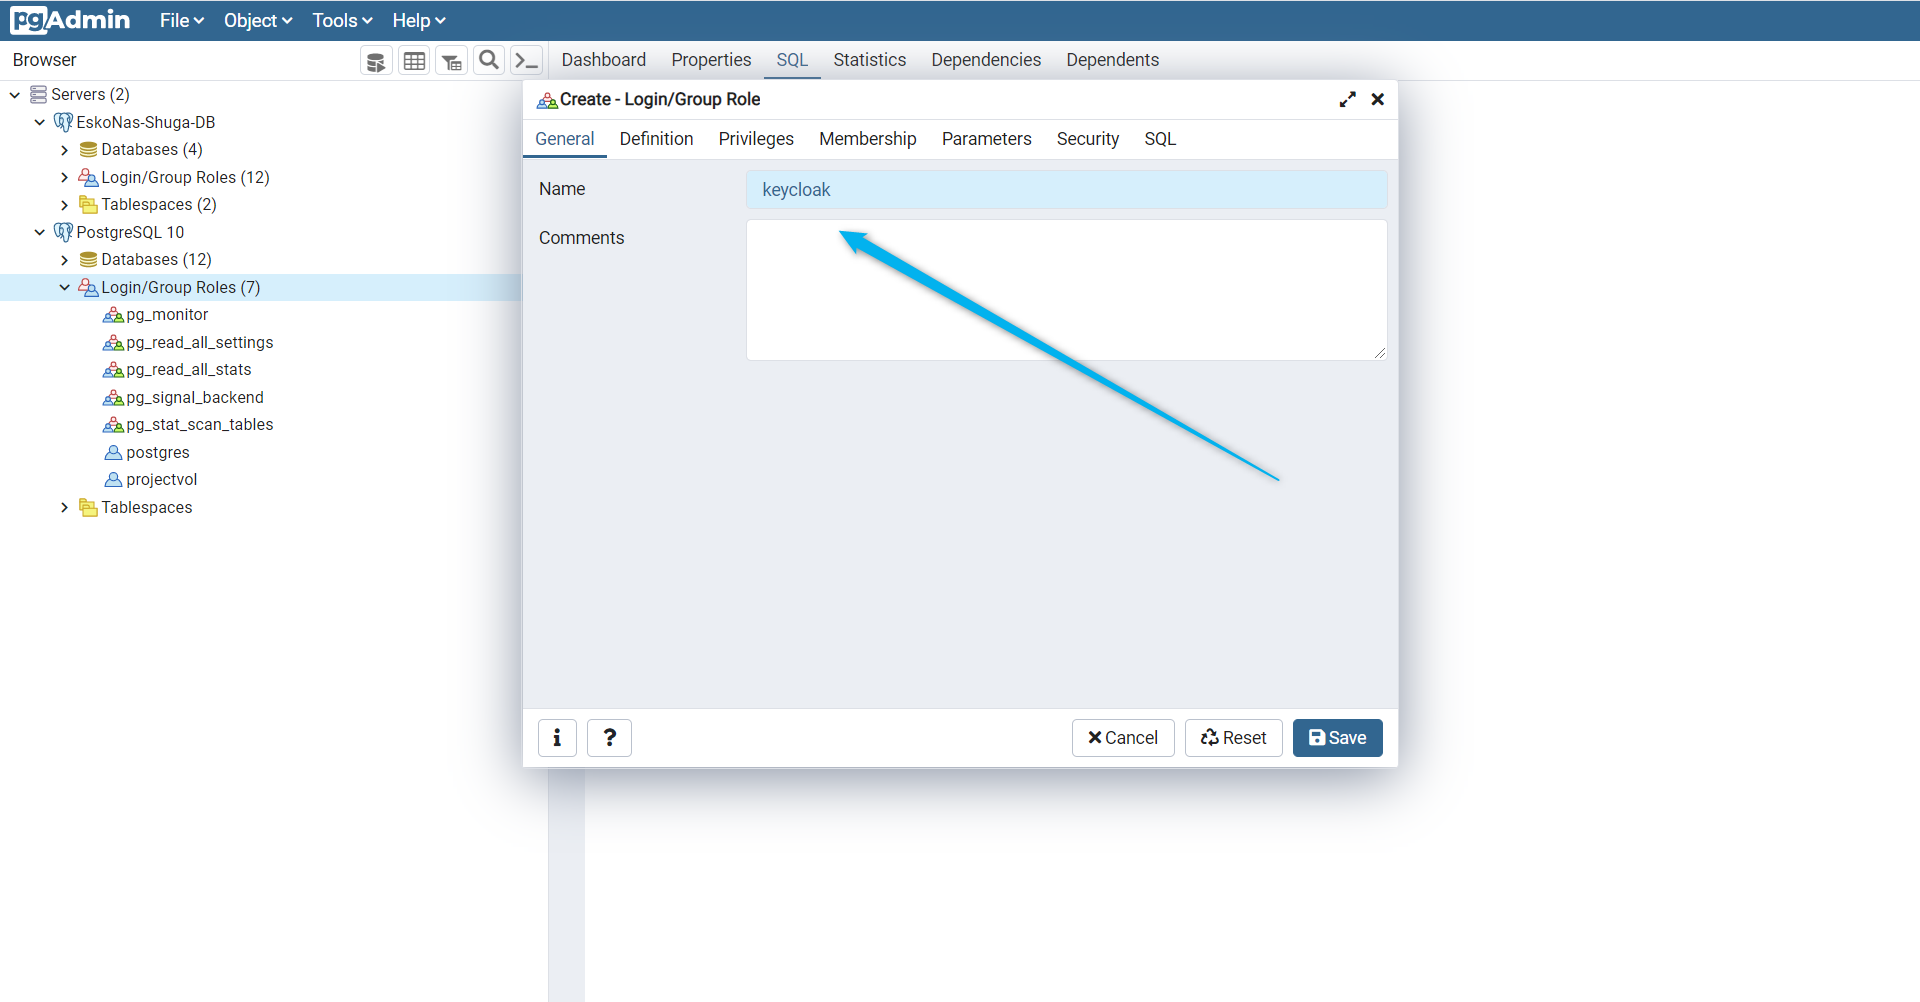
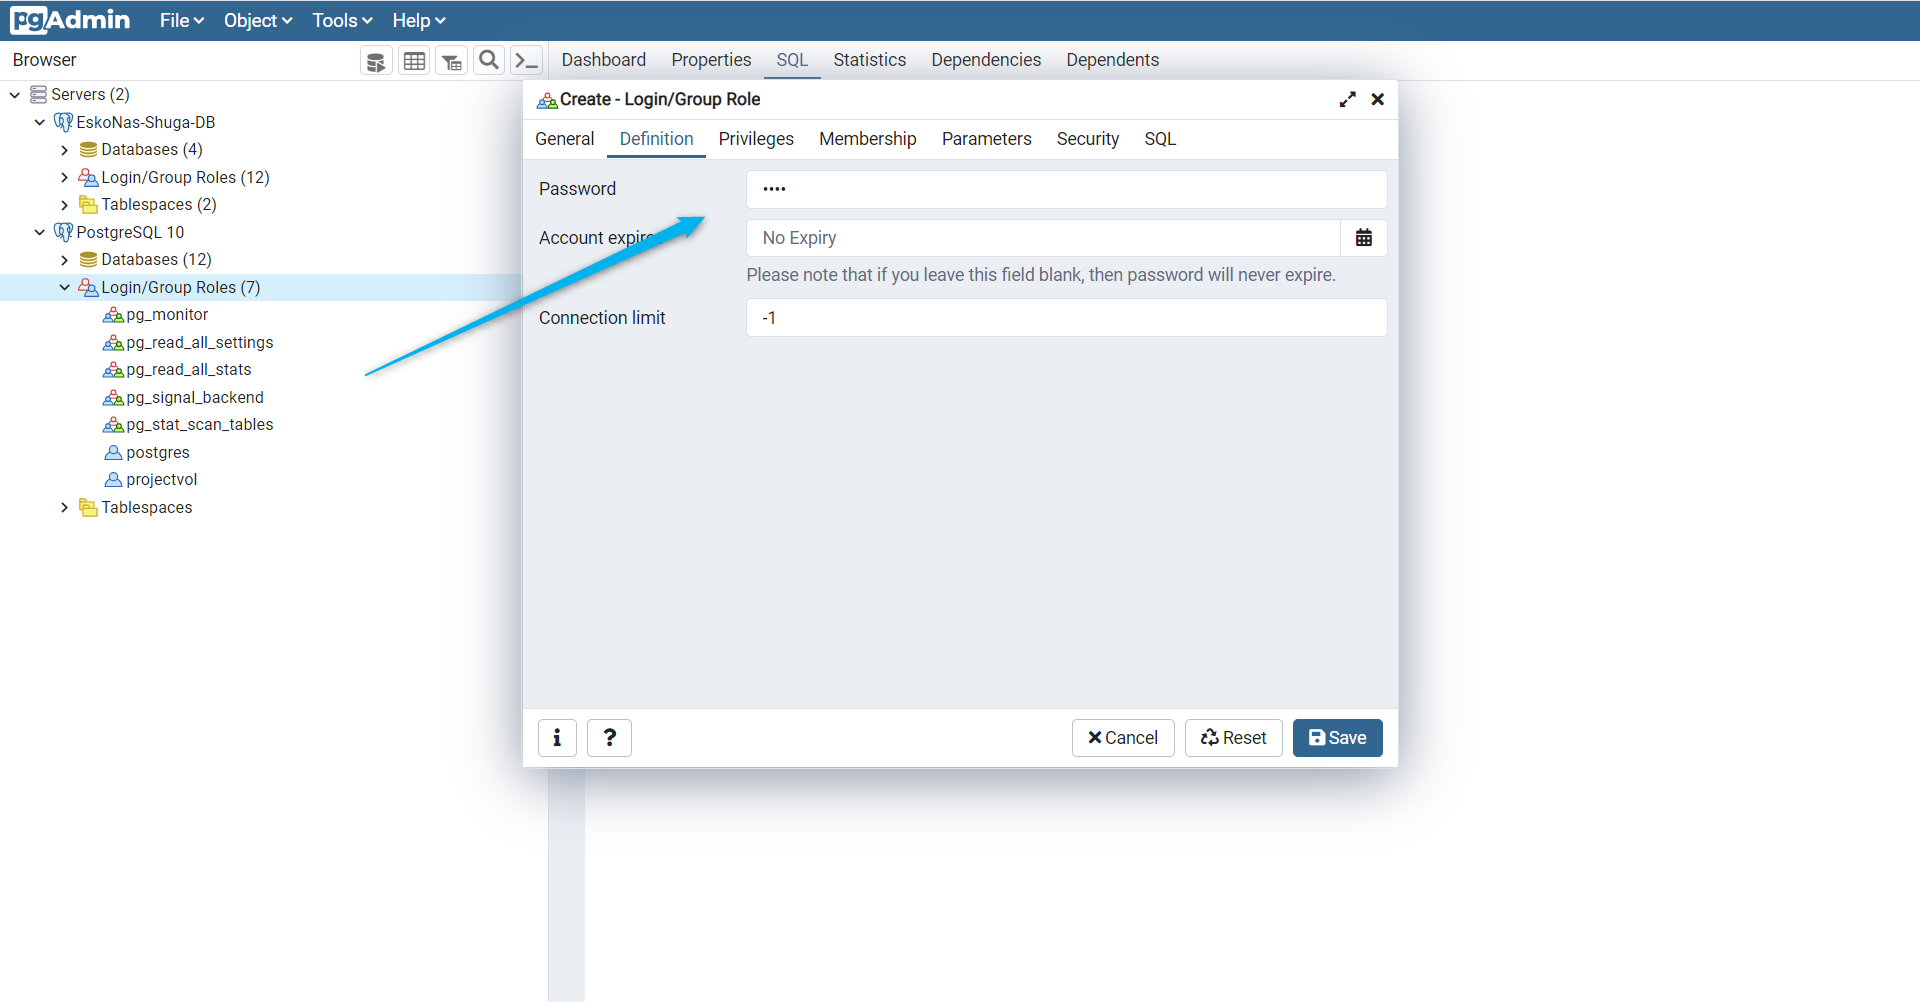
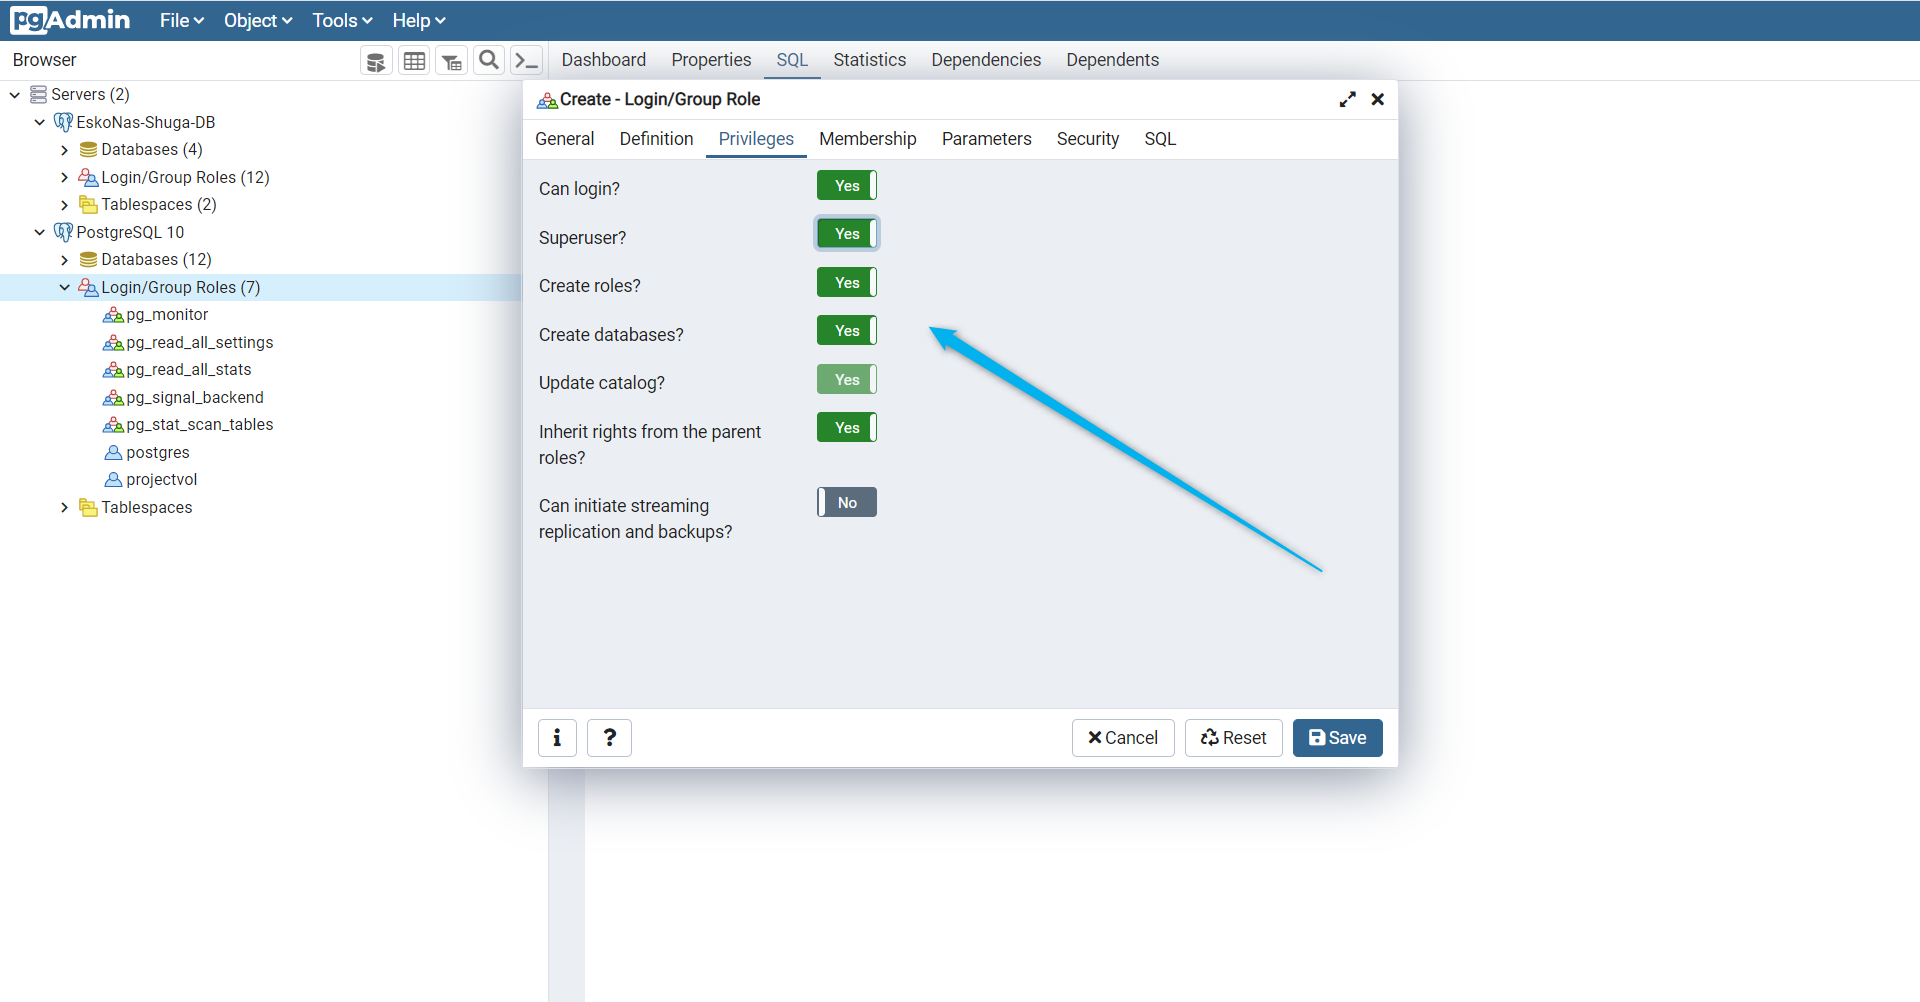
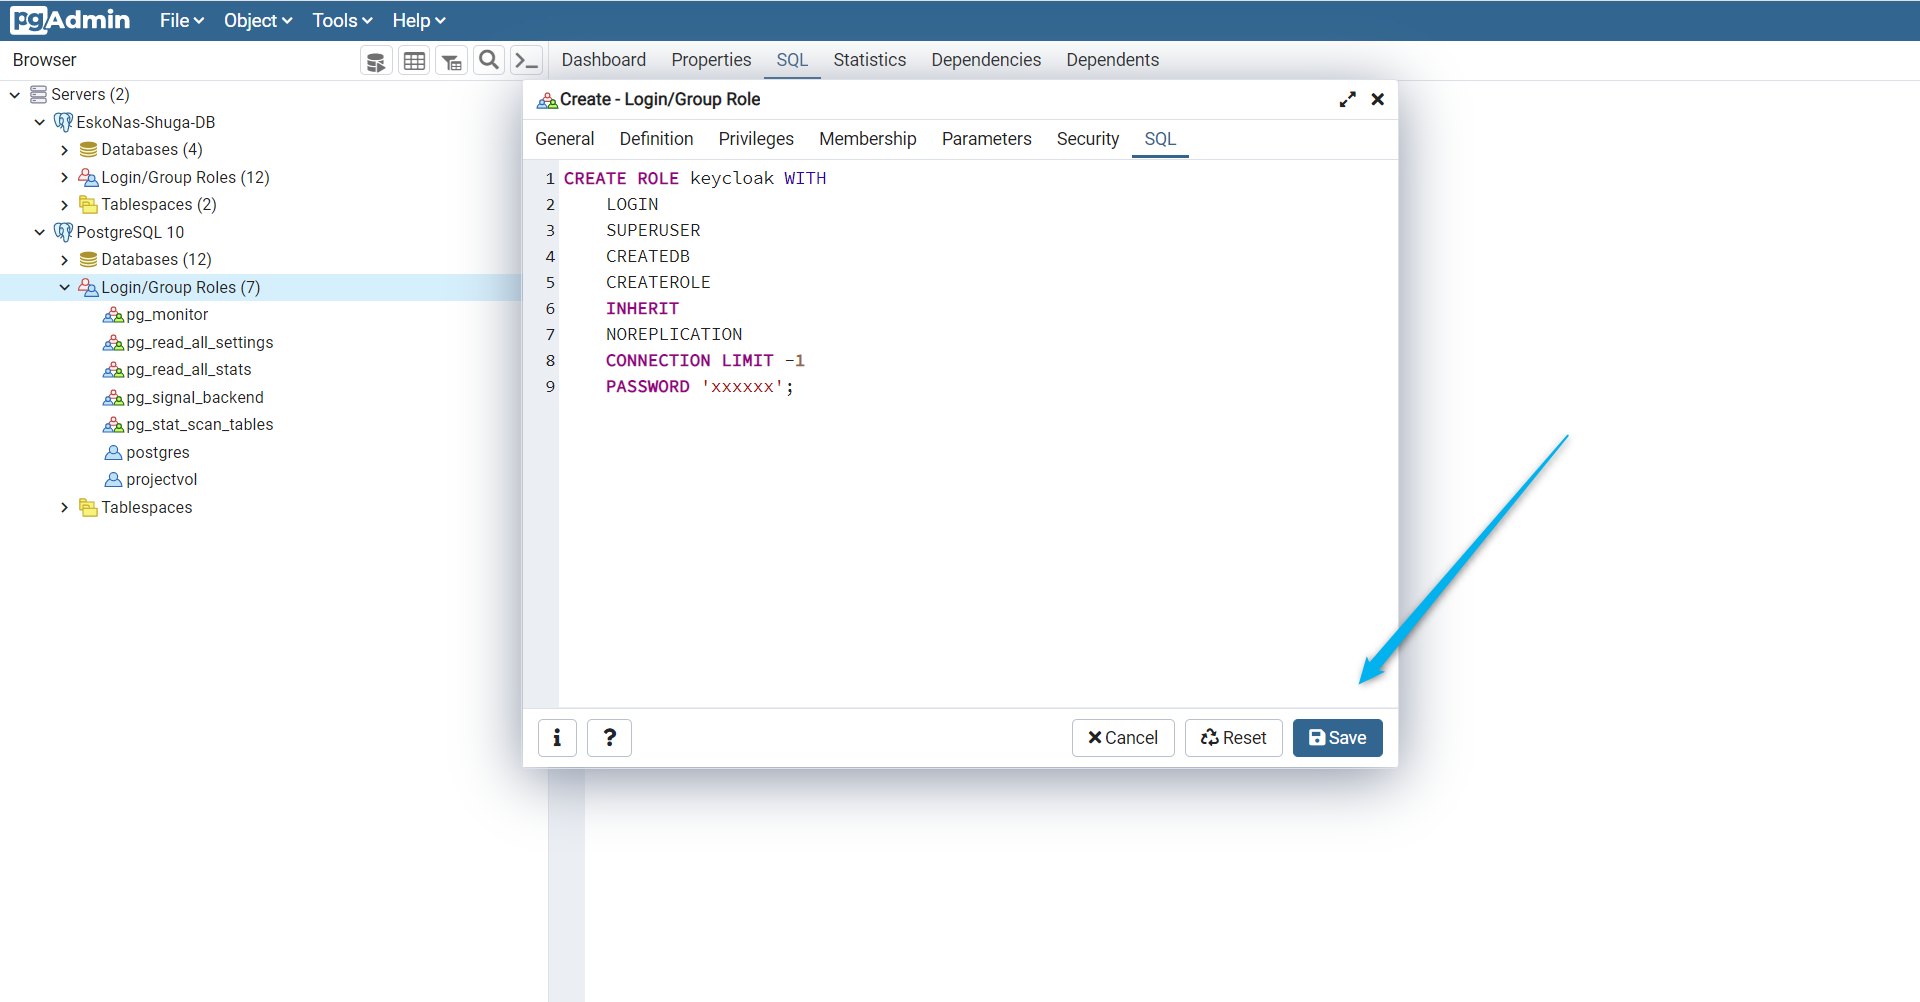
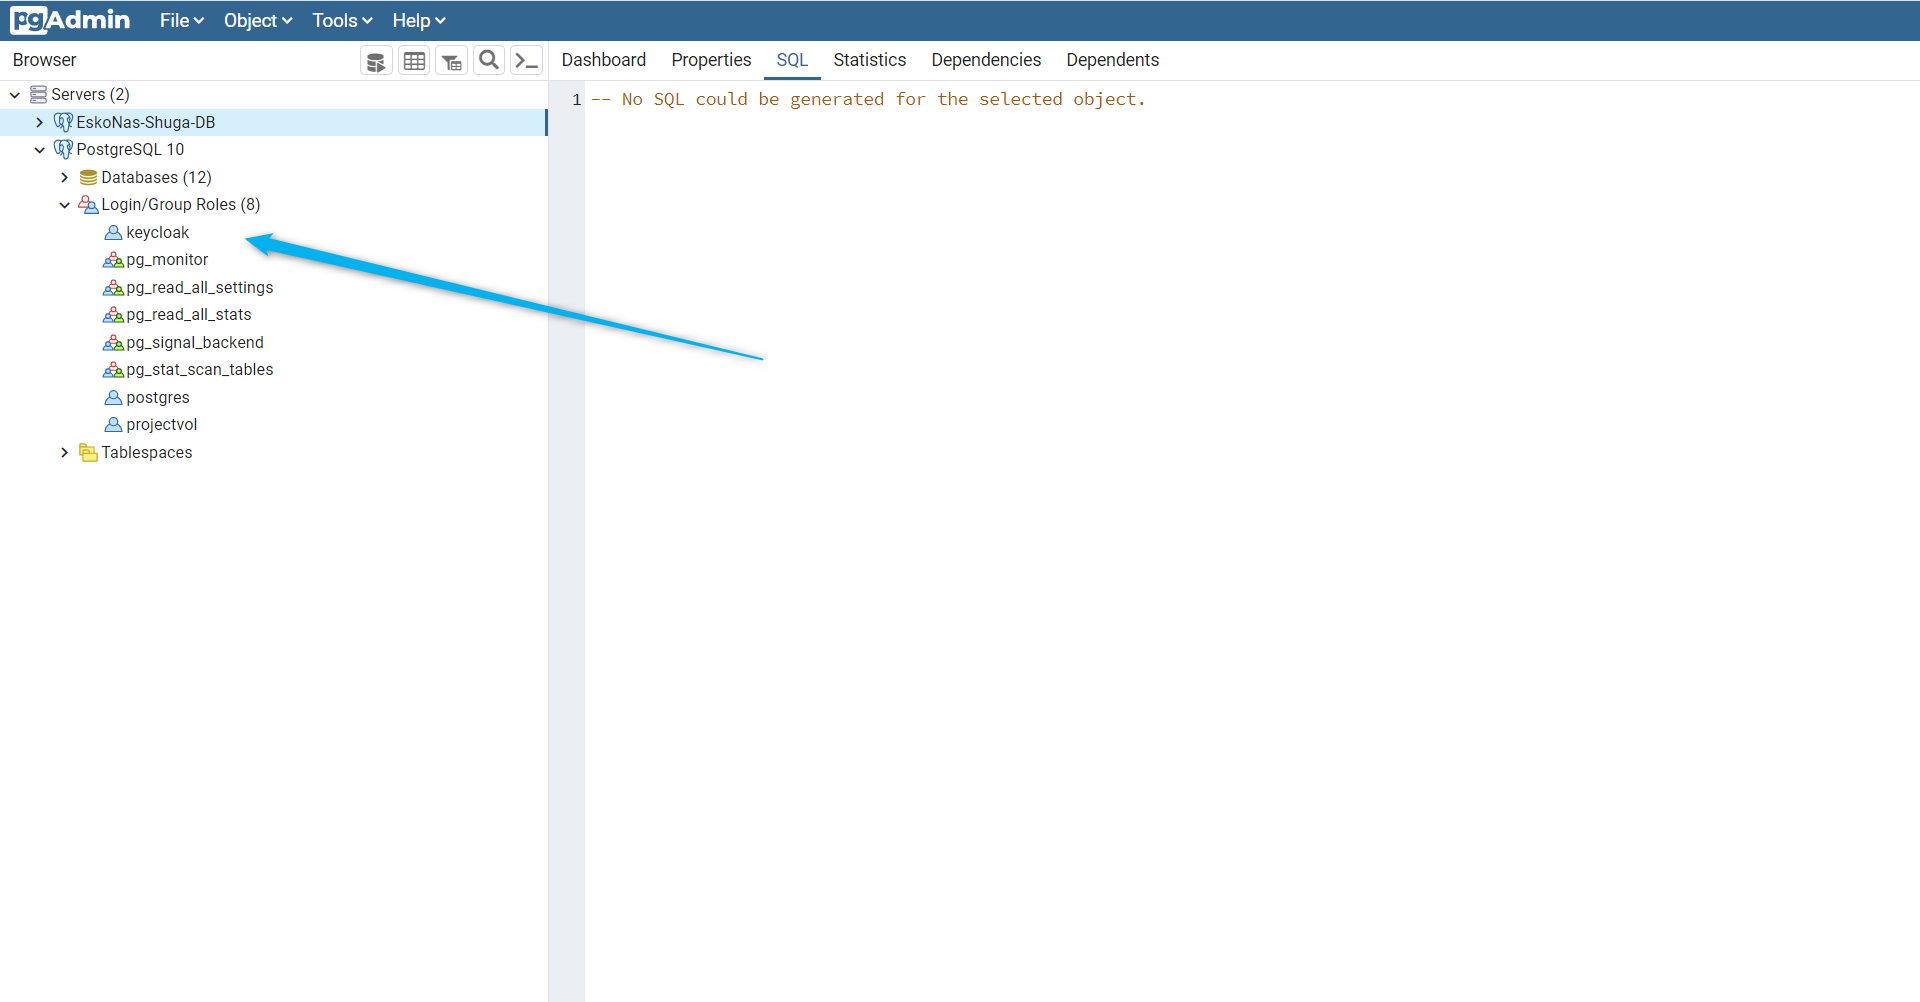
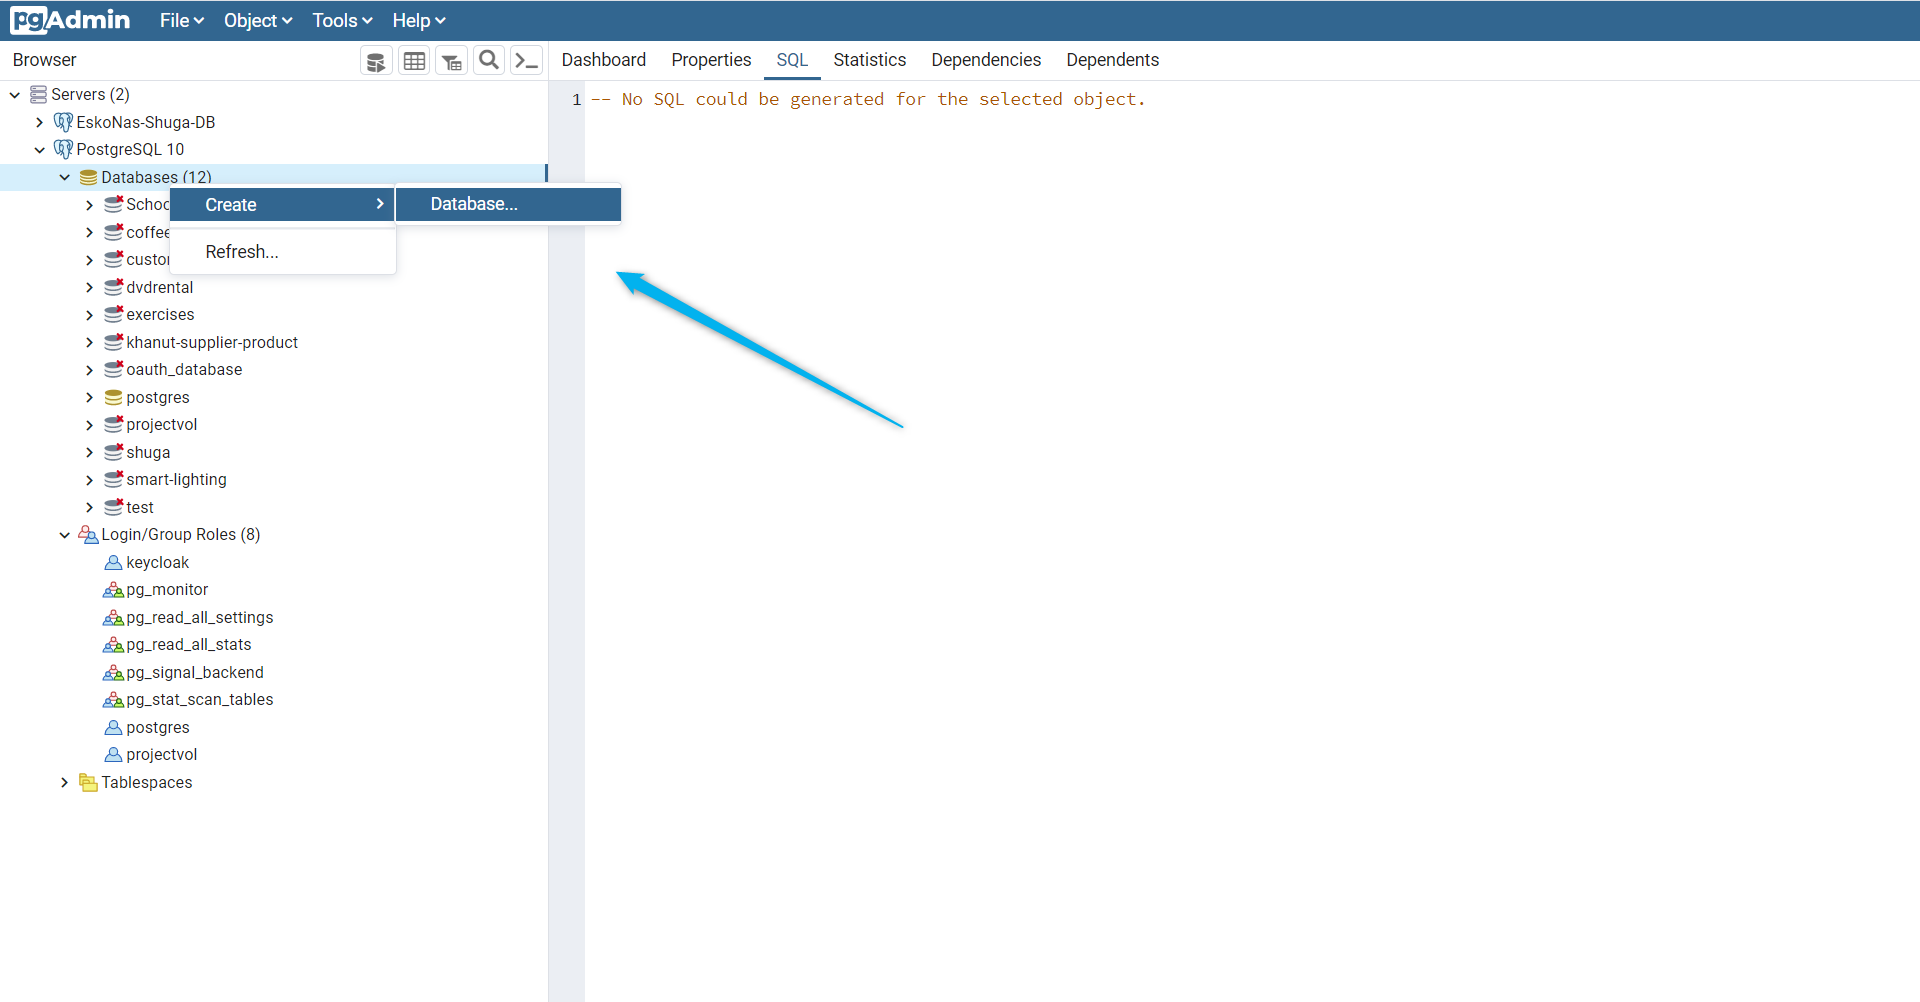
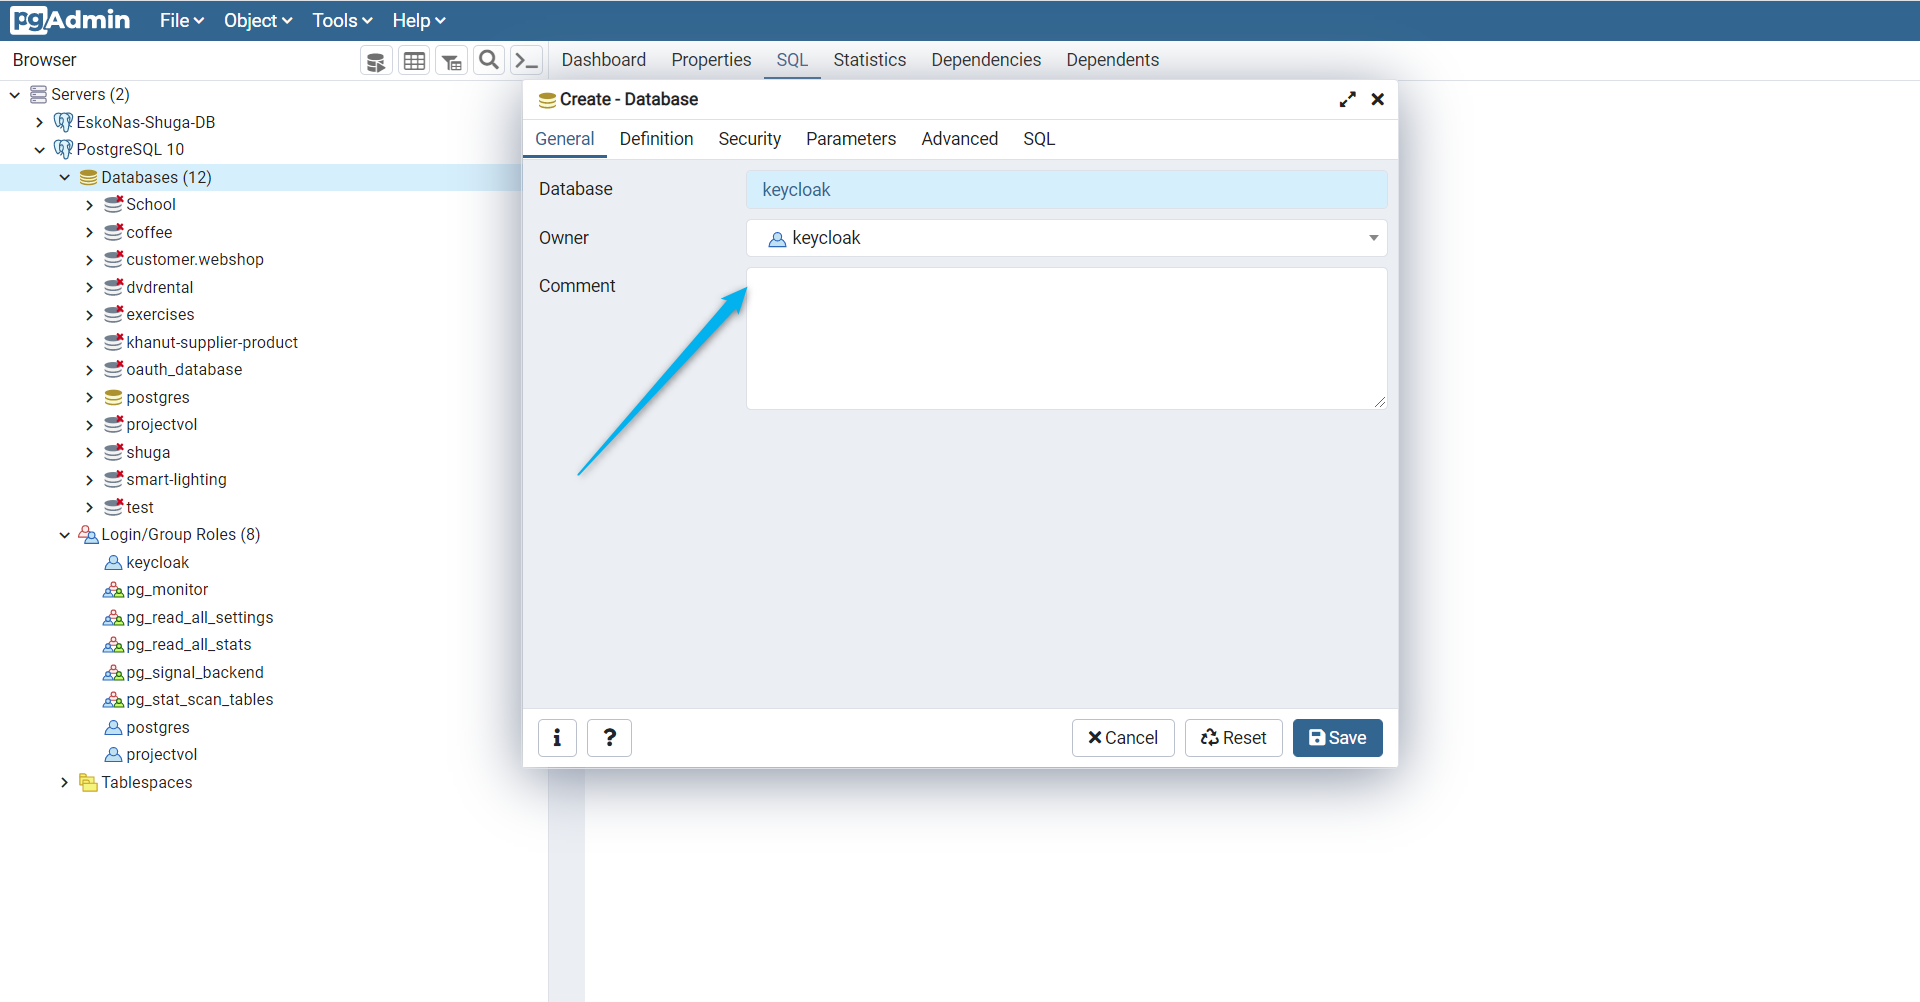
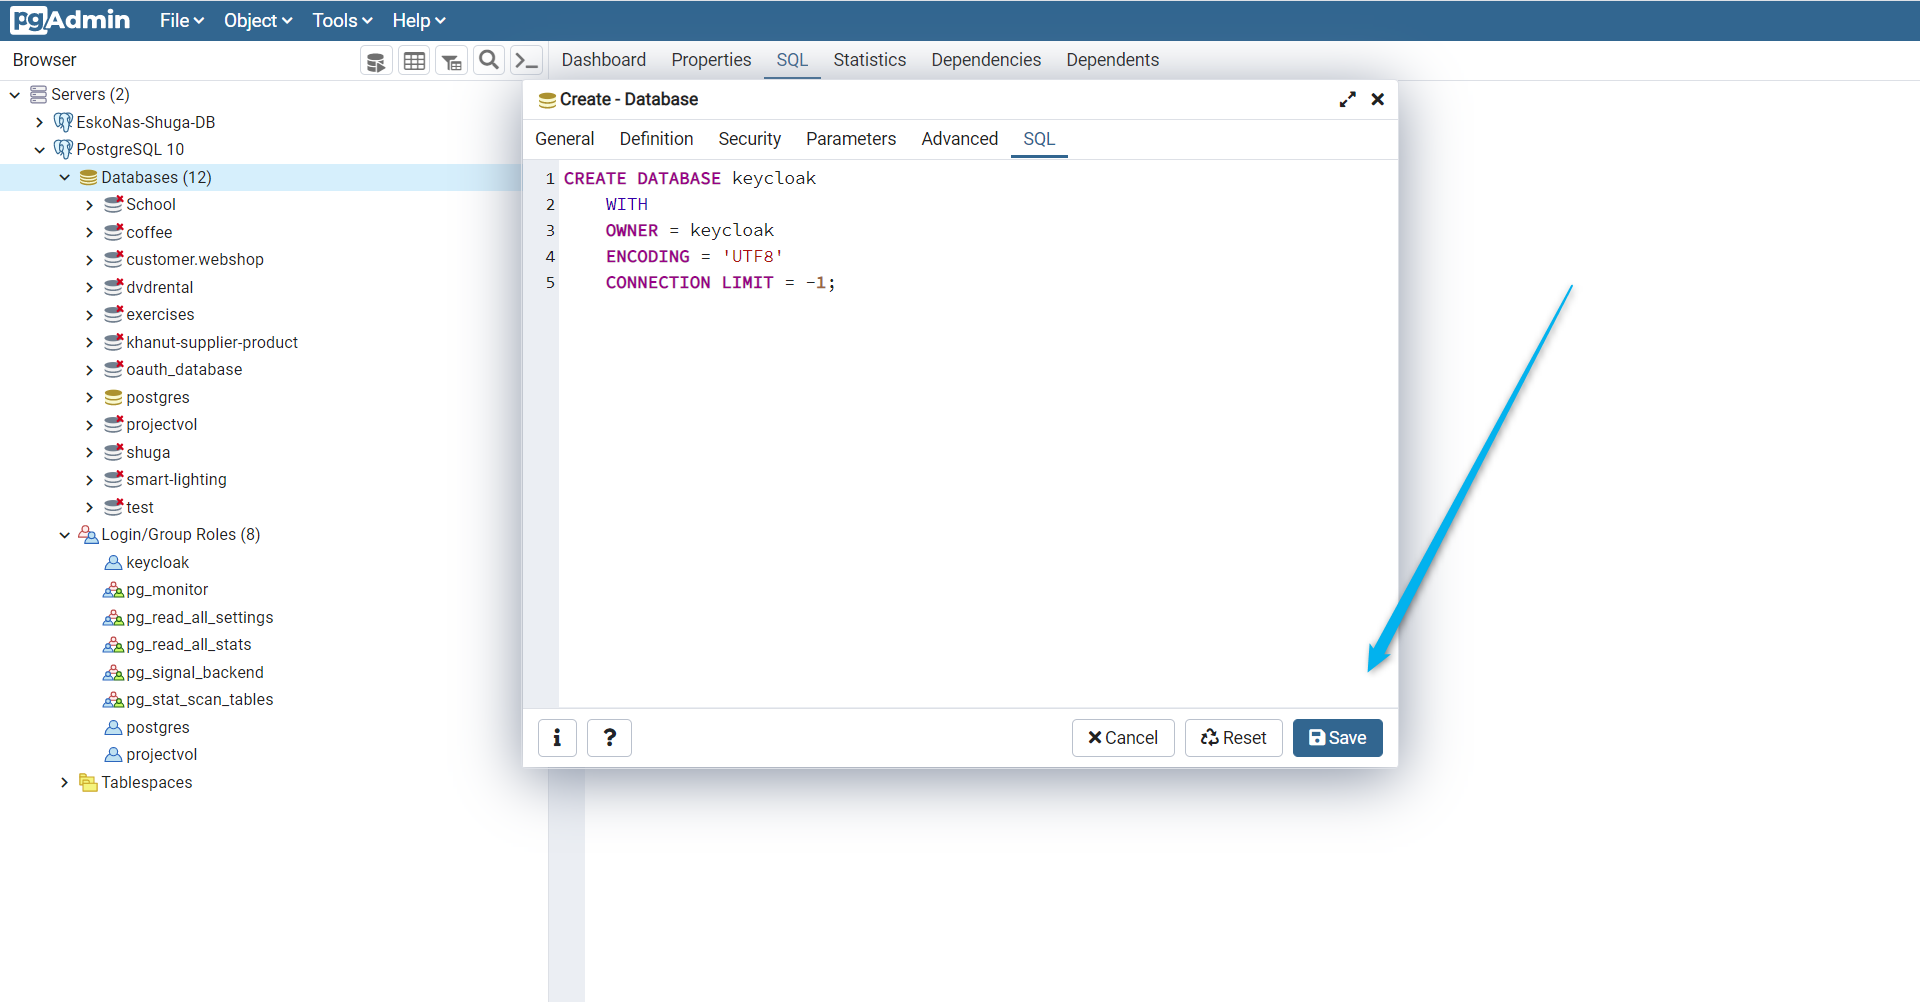
All we need to do is create a new user keycloak then create a new database with the name keycloak as well. The following screenshots are from my PGAdmin tool. You can also use SQL commands in order to achief the same.
Running the Keycloak container:
Since our database is running and ready to accept connections, we can start configuring our Keycloak container.
There is no need to add a docker volume since the data will be saved in the postgres database. All we need to configure is the port mapping and the environment variables.
Container exposure:
The admin tool of Keycloak runs on port 8080. So please make sure to expose this port by adding -p 8080:8080 to your docker run command.
Environemnt variables:
To create an admin account for the admin tool you need to pass 2 environment variables. KEYCLOAK_USER for the username and KEYCLOAK_PASSWORD for the password.
These can be added to your docker run command by adding -e KEYCLOAK_USER=your-user-name -e KEYCLOAK_PASSWORD=your-password
In order to configure the database connection, some extra variables have to be added.
- DB_VENDOR=postgres
- DB_ADDR=your-db-ip:your-db-port
- DB_USER=keycloak
- DB_PASSWORD=the-password-set-during-previous-steps
- DB_DATABASE=keycloak(optional since it equals the default value)
All these variables can passed as arguments to the docker run command using the -e operator.
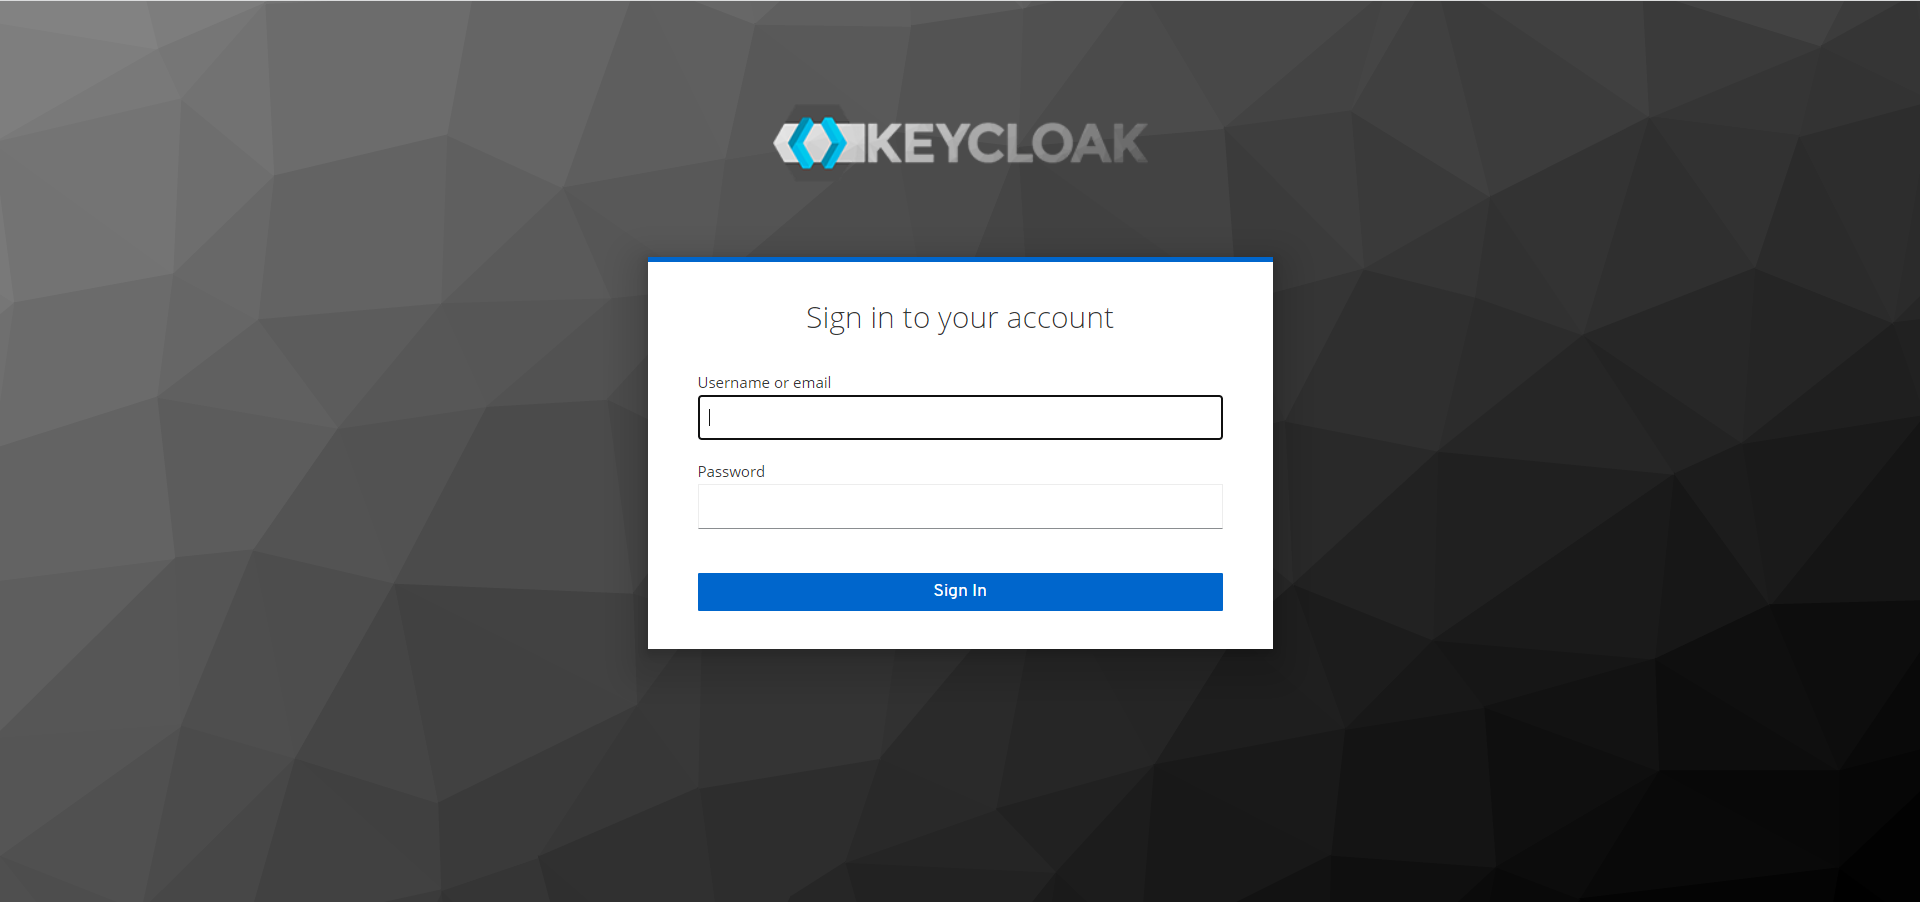
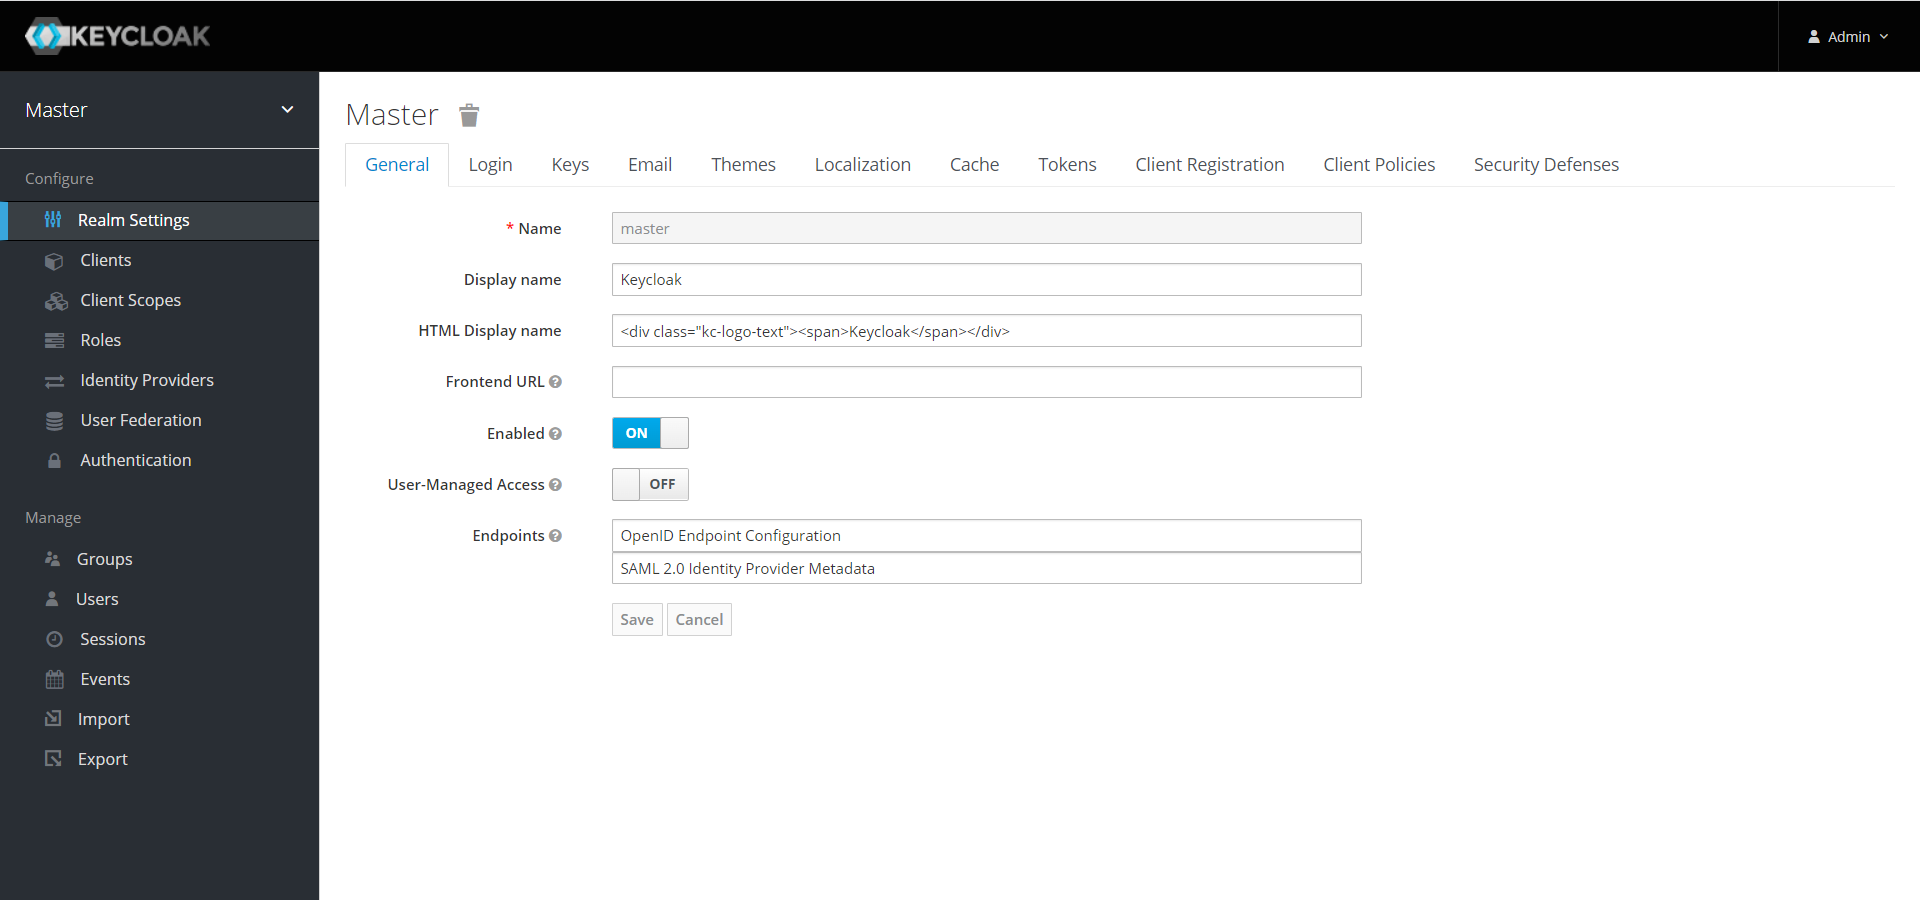
After running the docker run command, the Keycloak container will start. It will first create the database schema in the Postgres database. Afterwards you will be able to login to the admin tool using the credentials you entered as environment variables.
Thank you for reading my blog!